
Learn how to make a text follow a path created with the pen tool and other tools.
Create a new file, size doesn’t matter
Select the Pen Tool 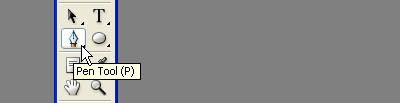
Make sure you select the PATHS option.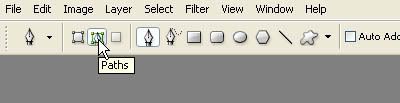
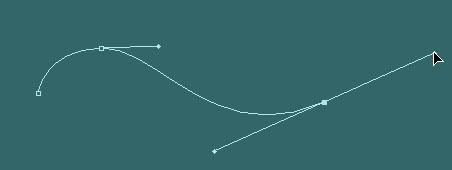
Draw a path, any shape you want.
Click the Horizontal Type Tool(T)
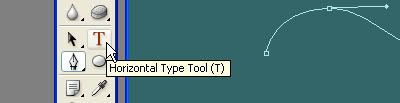
Then move over the path, click when the pointer change like big letter I with a slash. As you can see on the picture below.
You should have something like this, you can hide the path by pressing Ctrl+H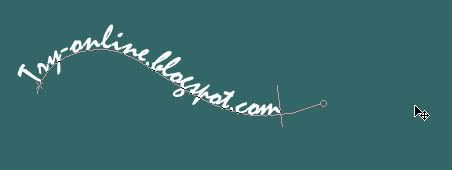
You can also use this with the tools shown below
Using the Ellipse Tool(U), draw a circle, press the SHIFT key to maintain the perfect circle.
Now using the Horizontal Type Tool, click over the path in circle

Write your text and you’re through
Text on Path
How to Crop Audio Files using Audio Editor
Sometimes we want to cut some Audio file, more often because we want to use it as a ring tone on our cell phone and maybe use it as a background music on our video file or just to use in our school cheering squad. Luckily we can use the WavePad editor, a simple but powerful audio editor. To download it Click here
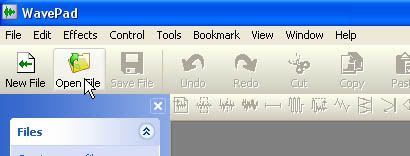
Open the WavePad by double clicking it on the desktop.
Then click the OPEN FILE on the top right corner of the screen.
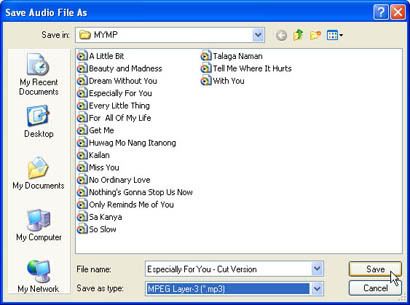
At the OPEN AUDIO FILE dialog box select the DRIVE where the audio files to be edited.
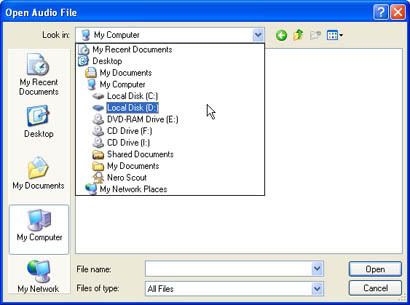
Then select the FOLDER, and finally the Audio file and click OPEN.
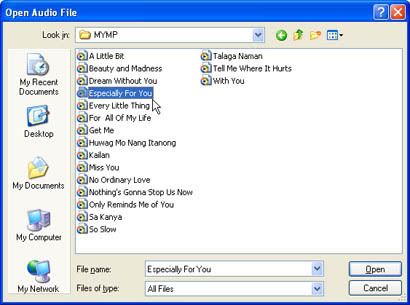
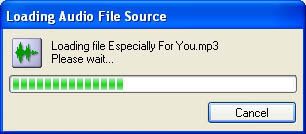
Wait until the LOADING AUDIO FILE finishes.
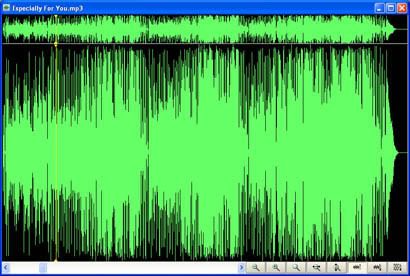
At the wave form window, the yellow line is the marker.
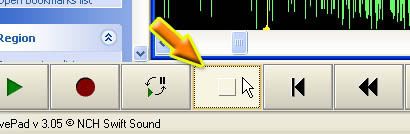
Wait until you reach where you want your audio file start, then click STOP button on the lower left corner of the screen. You can click the back button if you gone to far where you want the audio to start.
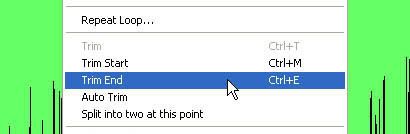
If you finally satisfied with the selection, RIGHT click anywhere on the screen, then click TRIM START.

Select again where you want the audio to end, then RIGHT click and this time select TRIM END.
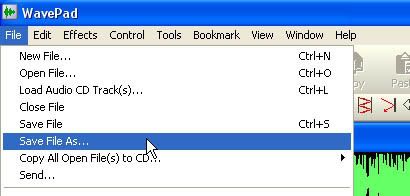
When you’re done, you can now save the file, but use the SAVE FILE AS on the FILE menu, just to be sure that our original Audio file will not be overwritten.
Then rename it with another name, or add some specific remarks to the file.
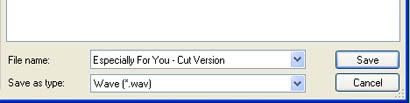
But wait don’t hit the SAVE button yet, we have to select the format for our audio file, the default format is WAVE, but we can choose on the drop down menu by clicking on the little arrow on the right side of the SAVE AS TYPE box.
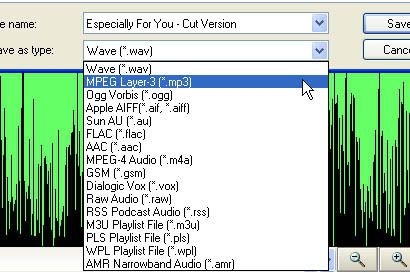
After selecting the file format you chooses you can now click the SAVE button and you’re done.
Masking Hair
When you are presented with a subject that contains a complex outline, such as the human hair, the question is: how do you go about separating the hair from the background? More to the point, how can you do this convincingly without it looking like an obvious retouch job?
You need knowledge in using the pen tool and combining it with the use of vector masks. You will find out that it is an effective way of isolating a subject.
The best way is to make use of the existing color channel contents and to copy the information which is already there in the image and modify it to produce a new mask channel.
Preparing the image
If you want these techniques to work well you need to shot your model with a white background, but in any case you don’t have that kind of image just make some techniques to overcome the situation.
Since the photograph I used in this tutorial has a complex background and not white as I said earlier, I decided to use the color replacement tool to replace the color of the background, just to make sure that when I use the channel technique my image has a good contrast. But if you have a white background or a lighter shade you can skip this procedure. 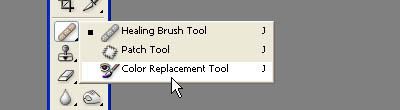
Brush it on the area, it only replace the color with similar color in the middle of the circle with a + sign. Increase the brush size by pressing CTRL + and decrease using CTRL -.
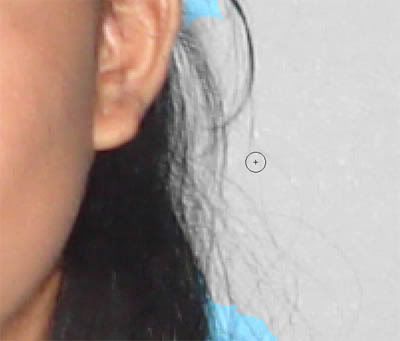
Here’s the finish image using color replacement tool. I was only interested in the area where the hair is, I leave the other part, and we can do that later.

Keeping the edges soft
Retouched photographs will not look right if they feature ‘pixel-sharp’ edges. Softer masks usually make for a more natural looking finish. A mask derived from a path conversion will be too crisp, even if it is anti-aliased. So, either feather your selections or if you have a layer mask, try applying a little Gaussian blur. You might find it helpful to use the blur tool to locally soften mask edges. Or you could apply a global gaussian blur filtration to the mask.
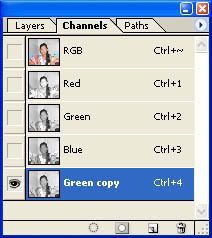
Look at the individual color channel and duplicated the one that contained the most contrast. Duplicate by dragging it to the New Channel button in the Channel palette.
Now we needed to increase the contrast in the alpha channel and make the hair darker making use of the pixel information already present in the photograph.
Go to IMAGE menu and choose APPLY IMAGE, the target channel was the Green copy, the source channel was also Green copy and the blending mode had been set to Overlay. 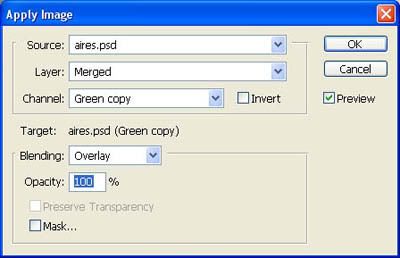
To increase the contrast even more, we can use the paintbrush tool 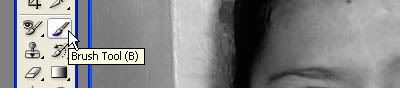
Set it to Overlay mode and switch between using black and white as the foreground color. As you paint with black, paint is only applied to dark pixels, and with white, paint is only applied to the lighter pixels. 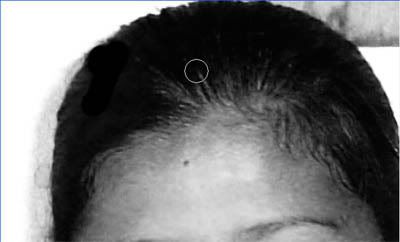
Be careful not to build up too much density on the outer hair strands. Use the opacity of the brush to control the density.
Using the pen tool trace the body to draw a path, then convert the pen path to a selection by dragging it to Make Selection button in the Path Palette, or just right click and choose Make Selection. Don't know how to use pen tool? Click here
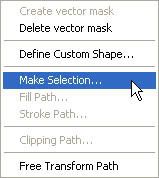
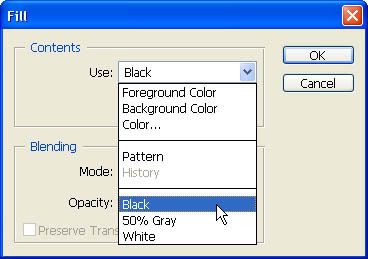
Then fill the selection with black
Inverse the selection,
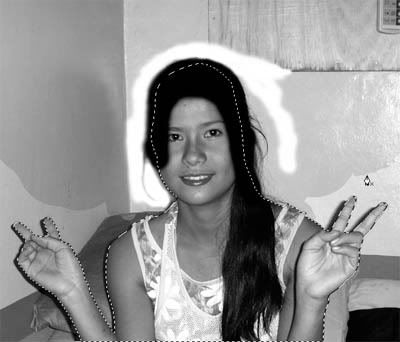
Then go to Layer palette and erase the background, just to be sure that the selection is clear, I do this using a large eraser brush. Leave the part that are near the hair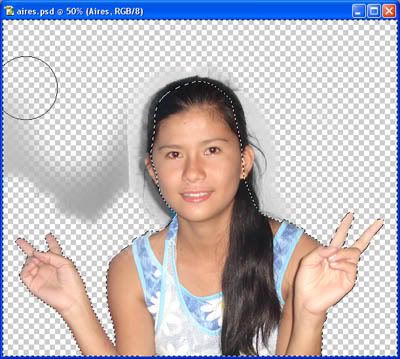
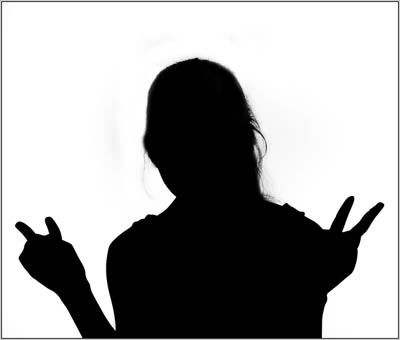
Return to the Mask selection, here’s what the selection looks like.
Load the Mask, click on the RGB of channel palette, then go to Layer channel, click the Add Layer mask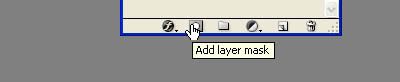
You can now copy the Mask image or you can inverse the selection and remove the background, either way you can use it to replace the background of the image.
Add the new layer and paste the new background, do some fine tuning if needed. 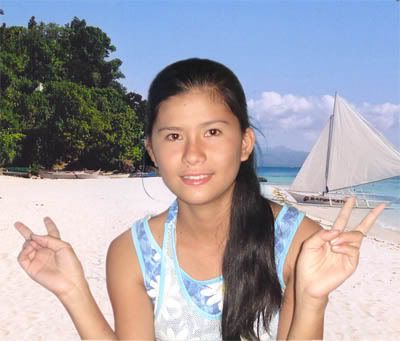
This is a very complex technique, it require some practice just to make it work perfect. You needed to develop your own technique to suites your need. You can even use the history brush to bring back some of the details that have been removed.
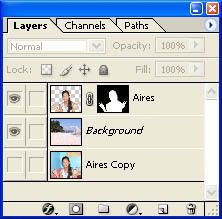
Finish layers
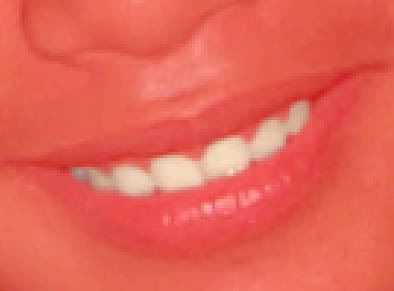
Whitening Teeth
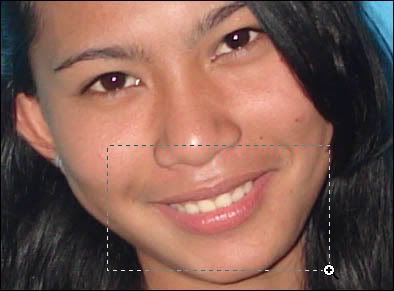
Here’s the perfect smile, but not so perfect image, as you can see that her teeth has a yellowish color, it’s now time to go to virtual dentist.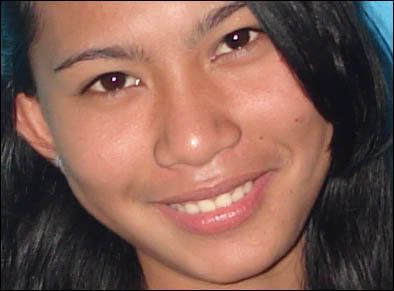
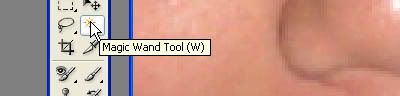
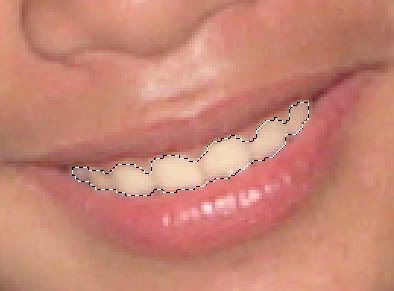
We need to select the part we want to whiten, let’s use the magic wand tool.
Zoom in a little so we can work better, you can do this by selecting the zoom tool in the tool box and drag the part you want to zoom in on, or you can press CTRL + to zoom in and CTRL – to zoom out.
Using the magic wand click on the area of the teeth.
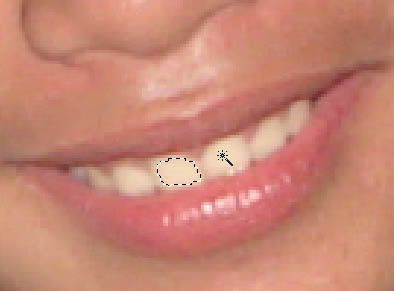
Hold down the SHIFT key and click on to the other part of the teeth. As you can see on the image there are part of the teeth that wasn’t selected. We need some fine tuning to do.

We can use the quick mask to edit the selection.

In quick mask mode the black select the area, and white will deselect the area.
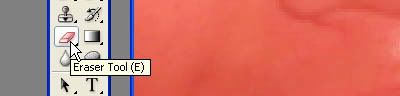
You can use the brush or eraser tool.
We can now draw on the area we want to select.
When you’re done, go back to the normal mode, click the icon on the left side of the quick mask.
Here is now the selection in normal mode.
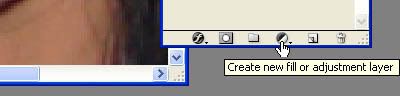
On the layer tool click the Create New Fill or Adjustment Layer.
Click the Hue/Saturation
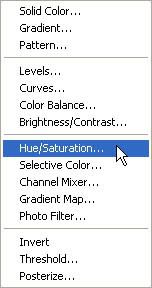
In the Hue/Saturation box, move the slider of the Saturation in the middle, experiment on the value, too much will cause the image to darken.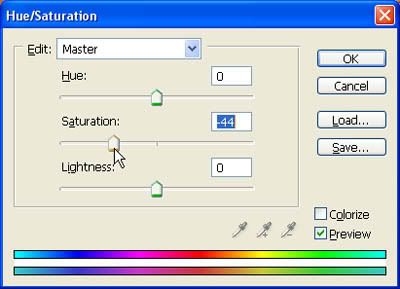
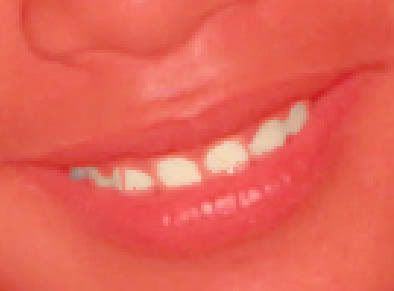
Here’s now the finish image, that’s the painless tooth cleaning I’ve ever know.

Subscribe to:
Posts (Atom)

