
It’s annoying to cut an image using the lasso tool or magic wand. There are better way to do that in Photoshop.
The reason why Pen Tool is better.
1. Accuracy – pen tool enables you to select partial pixels. It will always be smooth; it literally puts transparency on the bit of the pixel that exists outside of the selection.
2. Option – pen tool have numerous option available.
Open the image and using your pen tool trace around the outside.
Two ways to do it.
1. You can click around the image when doing so; you create a straight line, then go back and adjust the curves/anchor points later.
2. Or click and drag on each anchor point to get the right curves.
Note: Take it easy if you have difficulty where to put anchor points, pen tool will become easy as you practice, but initially it will be slow. Patience.
If you want to follow the tutorial, Click here to download the image.
Set you Pen tool to Path and path option is “add to path area”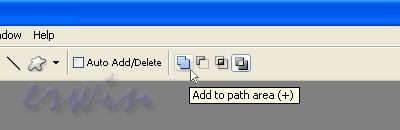
I use Rose bud picture for this tutorial, if you want you can zoom in (Ctrl +) and Zoom out (Ctrl -) as you work
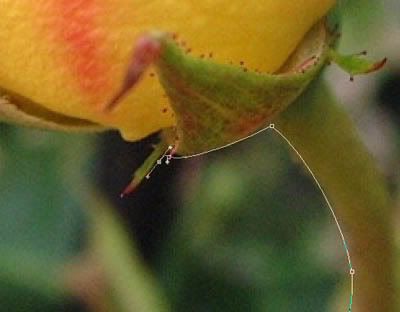
If you use the click and drag style on anchor point you can use the Ctrl to move the anchor point, here I intentionally place the anchor point outside of the selection, you will notice that if you hold down the mouse button, the cursor will change from arrow point to a triangular arrow as you can see on the image below.
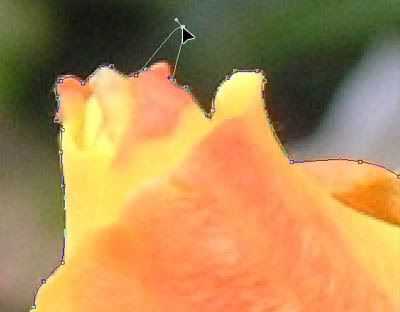
You can also use the Alt key to move the sharpness of the curvature, as I use in the next image. Notice how the mouse pointer changes from arrow to boomerang like point.

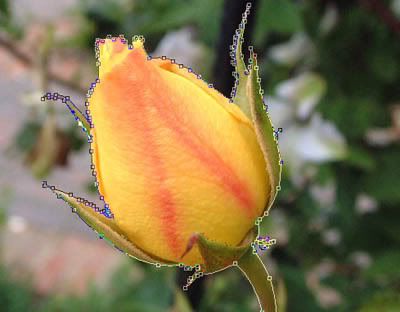
You have to close the work path in order for it to work, this means that your last anchor point must meet up you first anchor point. Starting point are marked with a small circle
Now right click on the work path and select Make Selection.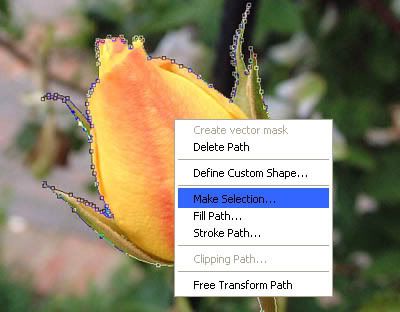
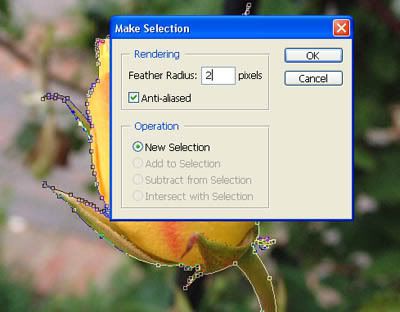
When prompted on how much is the feather radius you can experiment on the value, 1 or 2 is good If your image is low resolution, and if your image is high res., you can try more than 3 pixels, feathering is use to soften the edges of image.
When you’re done, right click on the work path and select Make Selection
Copy the selection (Ctrl + C) and paste it on to another image (Ctrl + V).
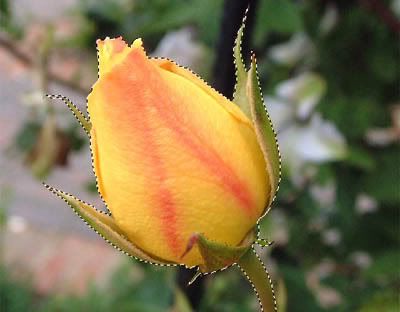
You can now paste you selection to another background and start making additional enhancement. Here’s what I do to with my work.
Cutting Out an Image with the Pen Tool

