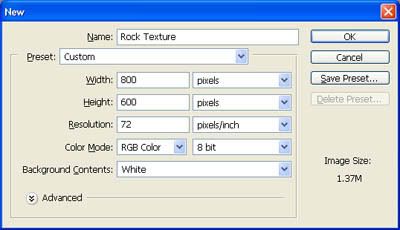
Create a new file of any size. Type the name, make sure that the Color Mode is set to RGB Color then click OK.
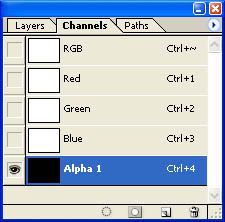
Go to the channels palette click on Create New Channel.
A new layer will be created and named with Alpha 1
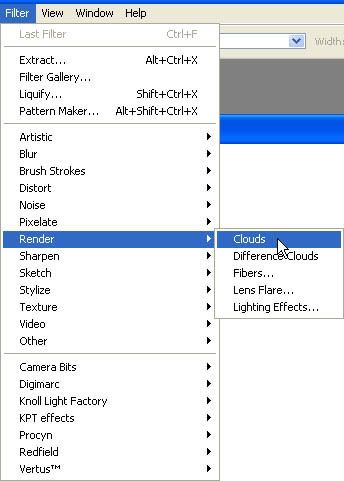
Reset the foreground and background colors by clicking the Set Default or just press the “D” key. Then go to FILTER menu, RENDER Click CLOUDS.
In the Channels palette, click on the RGB layer. Switch to the layers palette.
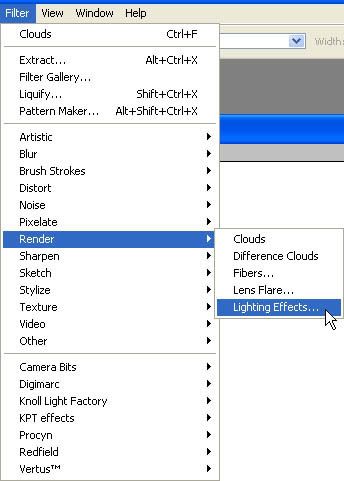
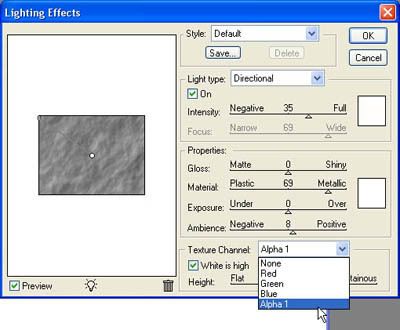
Now Go to FILTER menu, RENDER and select LIGHTING EFFECTS
Set light type to directional. On the Texture Channel select Alpha 1. Click OK.
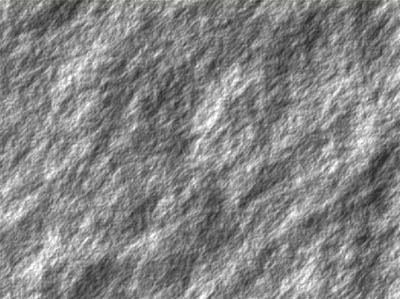
Now were done with the Rock Texture.
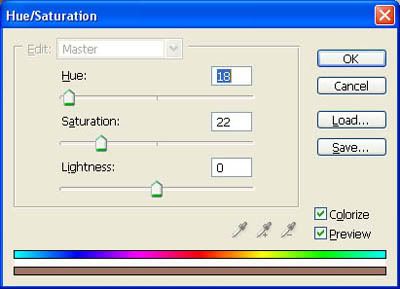
We can add some color to the Texture with the help of HUE/SATURATION in ADJUSTMENT under the IMAGE menu.
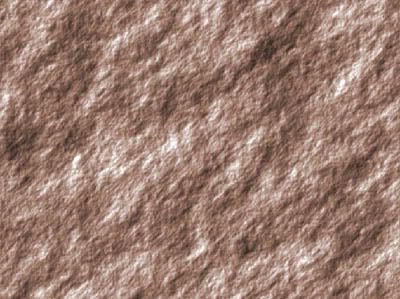
Under those settings above here’s the output.

