Most of my friends wonder how to do my photo, in which I put my picture inside the text, well it take days to create. Ha ha ha, just kidding, 
I do it by creating a clipping group, and it takes about a minute to complete the whole process. What you need is the word or name you want and the image where you want to put it down. By placement of the text and image layers and holding down of key.
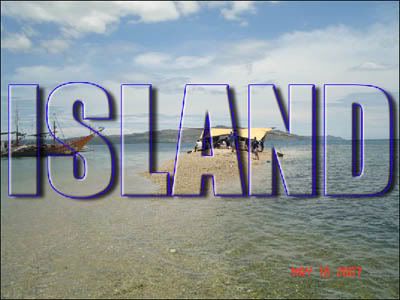
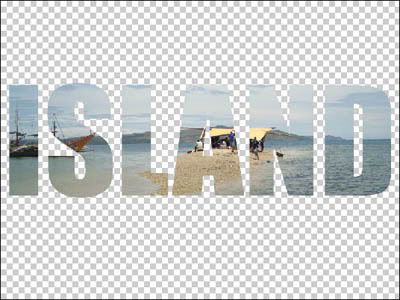
First: Open the image, create a copy by dragging it to the new layer icon, rename it Island, and hide the other copy by clicking the eye icon on the layers palette. I use a photo shot when I was in an island.
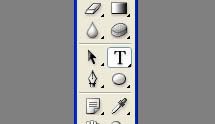
2: Select the Type tool in the toolbar or you can press the letter T.
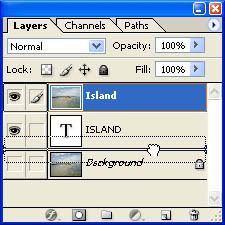
3: Type the word (ISLAND), Photoshop automatically creates a layer for a text. It doesn’t matter what color the text is, what important is the font you will use, I uses IMPACT at 280 point, and type it all caps. 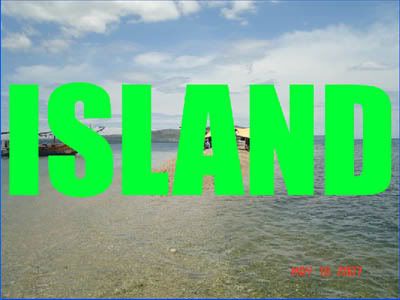
4: Click and drag the text layer BELOW the image layer. For this technique to work, you have to make sure that the text is below the image.
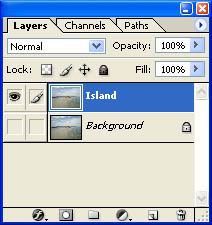
5: Hold down the Alt key and click between the two layers, as shown in the image below. The cursor will morph into two over-lapping, black and white circles and that's when you click.
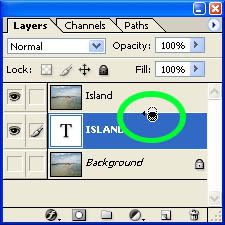
Your Layers Palette should now look like this:
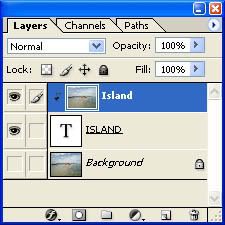
6: Click your type layer, then click the move tool and arrange the text wherever you want, when you are satisfied with the placement of your text we can now add some enhancement.
You can still change the size, font type or you can even use the Transform tool to change its appearance.
To make it more vibrant we can add effects to the Type layer, add some drop shadow, bevel and emboss, and add some Stroke, you can experiment on the thickness of the shade. You can add new layer and fill it with the color you want or add a new background image.
Here’s the final image.