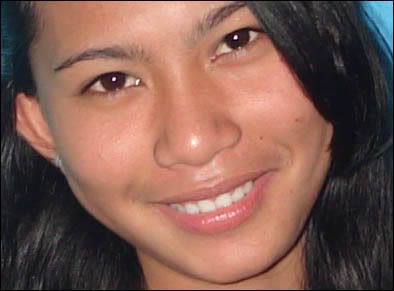
Here’s the perfect smile, but not so perfect image, as you can see that her teeth has a yellowish color, it’s now time to go to virtual dentist.
We need to select the part we want to whiten, let’s use the magic wand tool.

Zoom in a little so we can work better, you can do this by selecting the zoom tool in the tool box and drag the part you want to zoom in on, or you can press CTRL + to zoom in and CTRL – to zoom out.
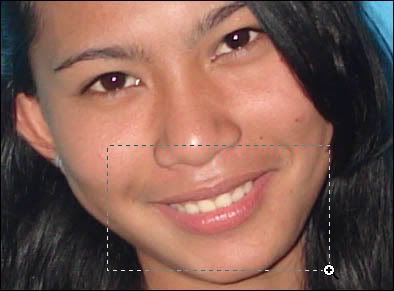
Using the magic wand click on the area of the teeth.
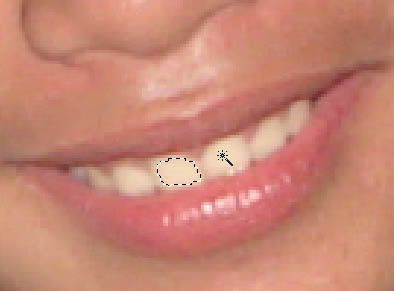
Hold down the SHIFT key and click on to the other part of the teeth. As you can see on the image there are part of the teeth that wasn’t selected. We need some fine tuning to do.
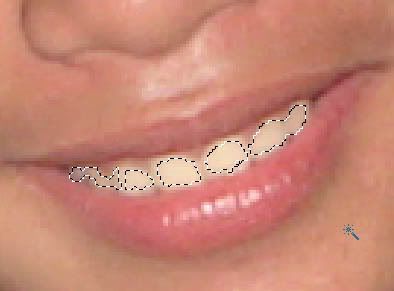
We can use the quick mask to edit the selection.

In quick mask mode the black select the area, and white will deselect the area.
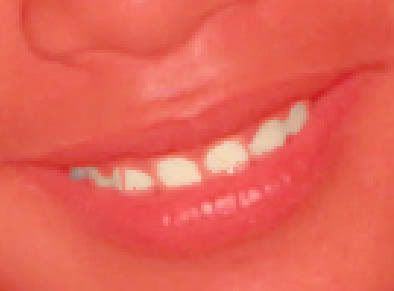
You can use the brush or eraser tool.

We can now draw on the area we want to select.
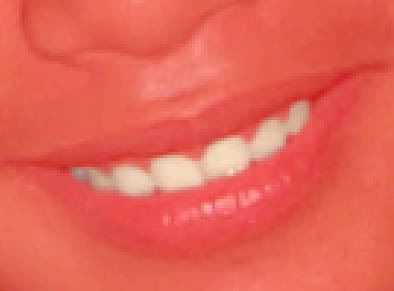
When you’re done, go back to the normal mode, click the icon on the left side of the quick mask.
Here is now the selection in normal mode.
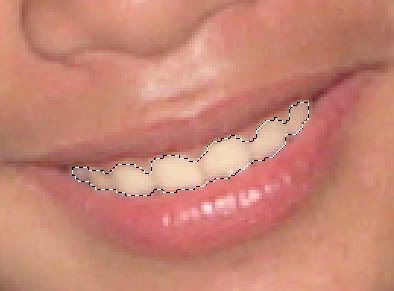
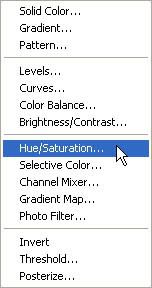
On the layer tool click the Create New Fill or Adjustment Layer.

Click the Hue/Saturation
In the Hue/Saturation box, move the slider of the Saturation in the middle, experiment on the value, too much will cause the image to darken.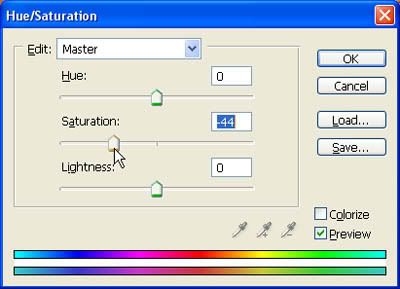
Here’s now the finish image, that’s the painless tooth cleaning I’ve ever know.
