Very common problems with flash photography is red eye, it happens when the flashes is too close to the camera. We are going to remove the red eye using two methods.
FIRST, we will use the so called Color Replacement Tool and is under the healing brush tool. 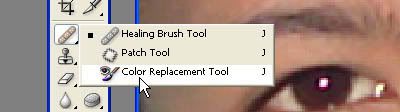
First we need to define which color we will use to replace. You can hold down the ALT key and click on the color you want to use. 
Or you can set the foreground color in the Color Palette
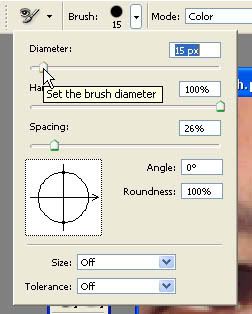
Select the size of the brush to use, you can increase the brush size by pressing the right bracket ] key and decrease it by pressing left bracket [ key.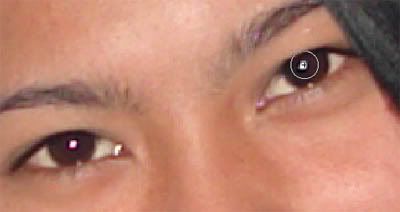
Or you can increase and decrease it by using the set diameter settings.
And that’s it, your image don’t have the red eye now.
SECOND method:
Let’s undo the all the previous changes we use.
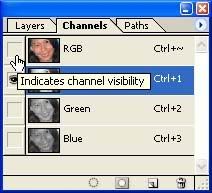
Click on the CHANNEL tab, the select the RED channel.

Select the BURN tool, located under the dodge tool. Which going to darken everything.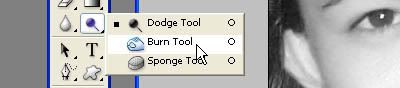
Now change the brush size, then paint on the middle of the eye, what happen in the channel when we are in RGB mode, the lighter it is the more it applied, the darker the color is, the less it is applied.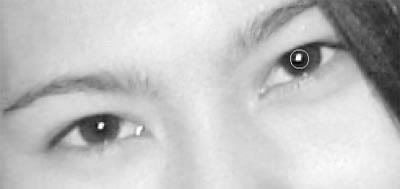
Now click the RGB.
And the red eye is gone.